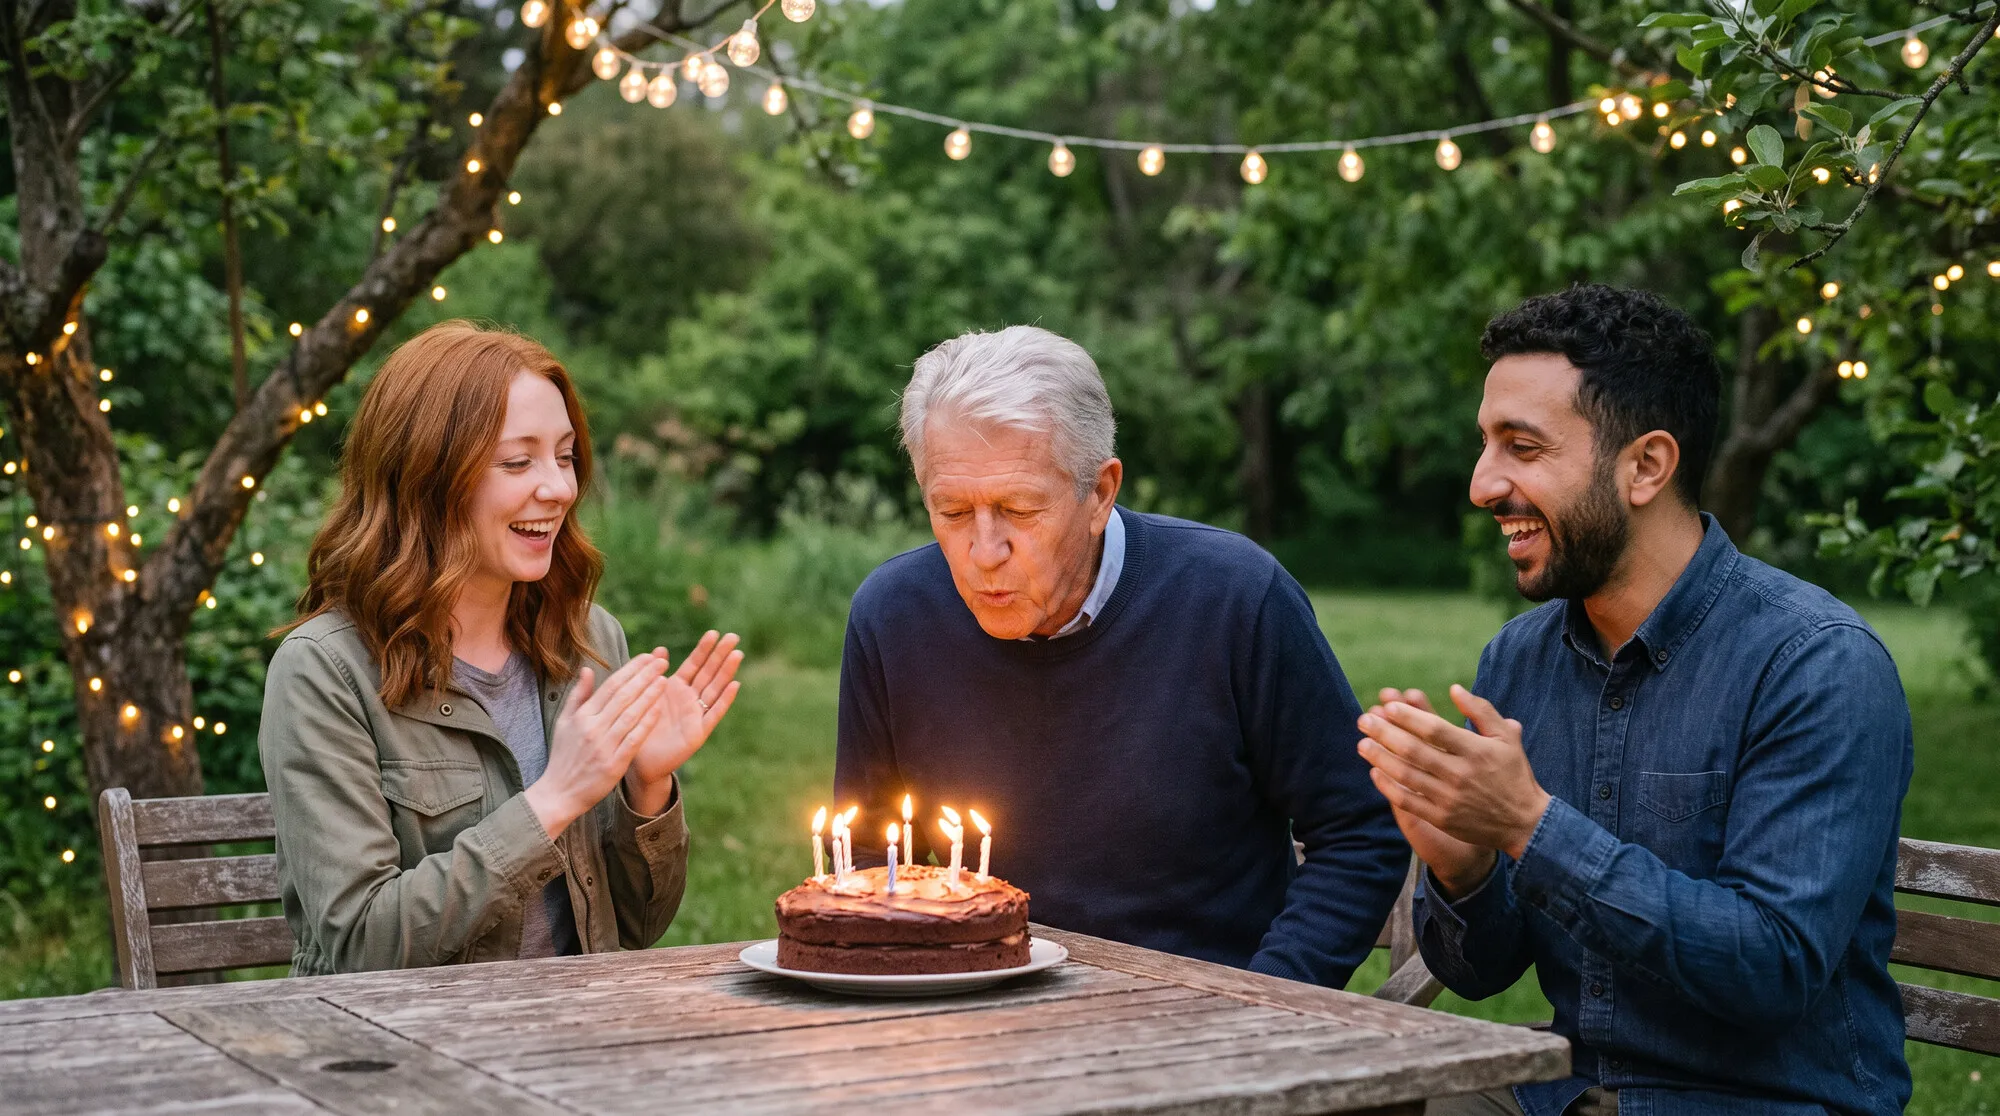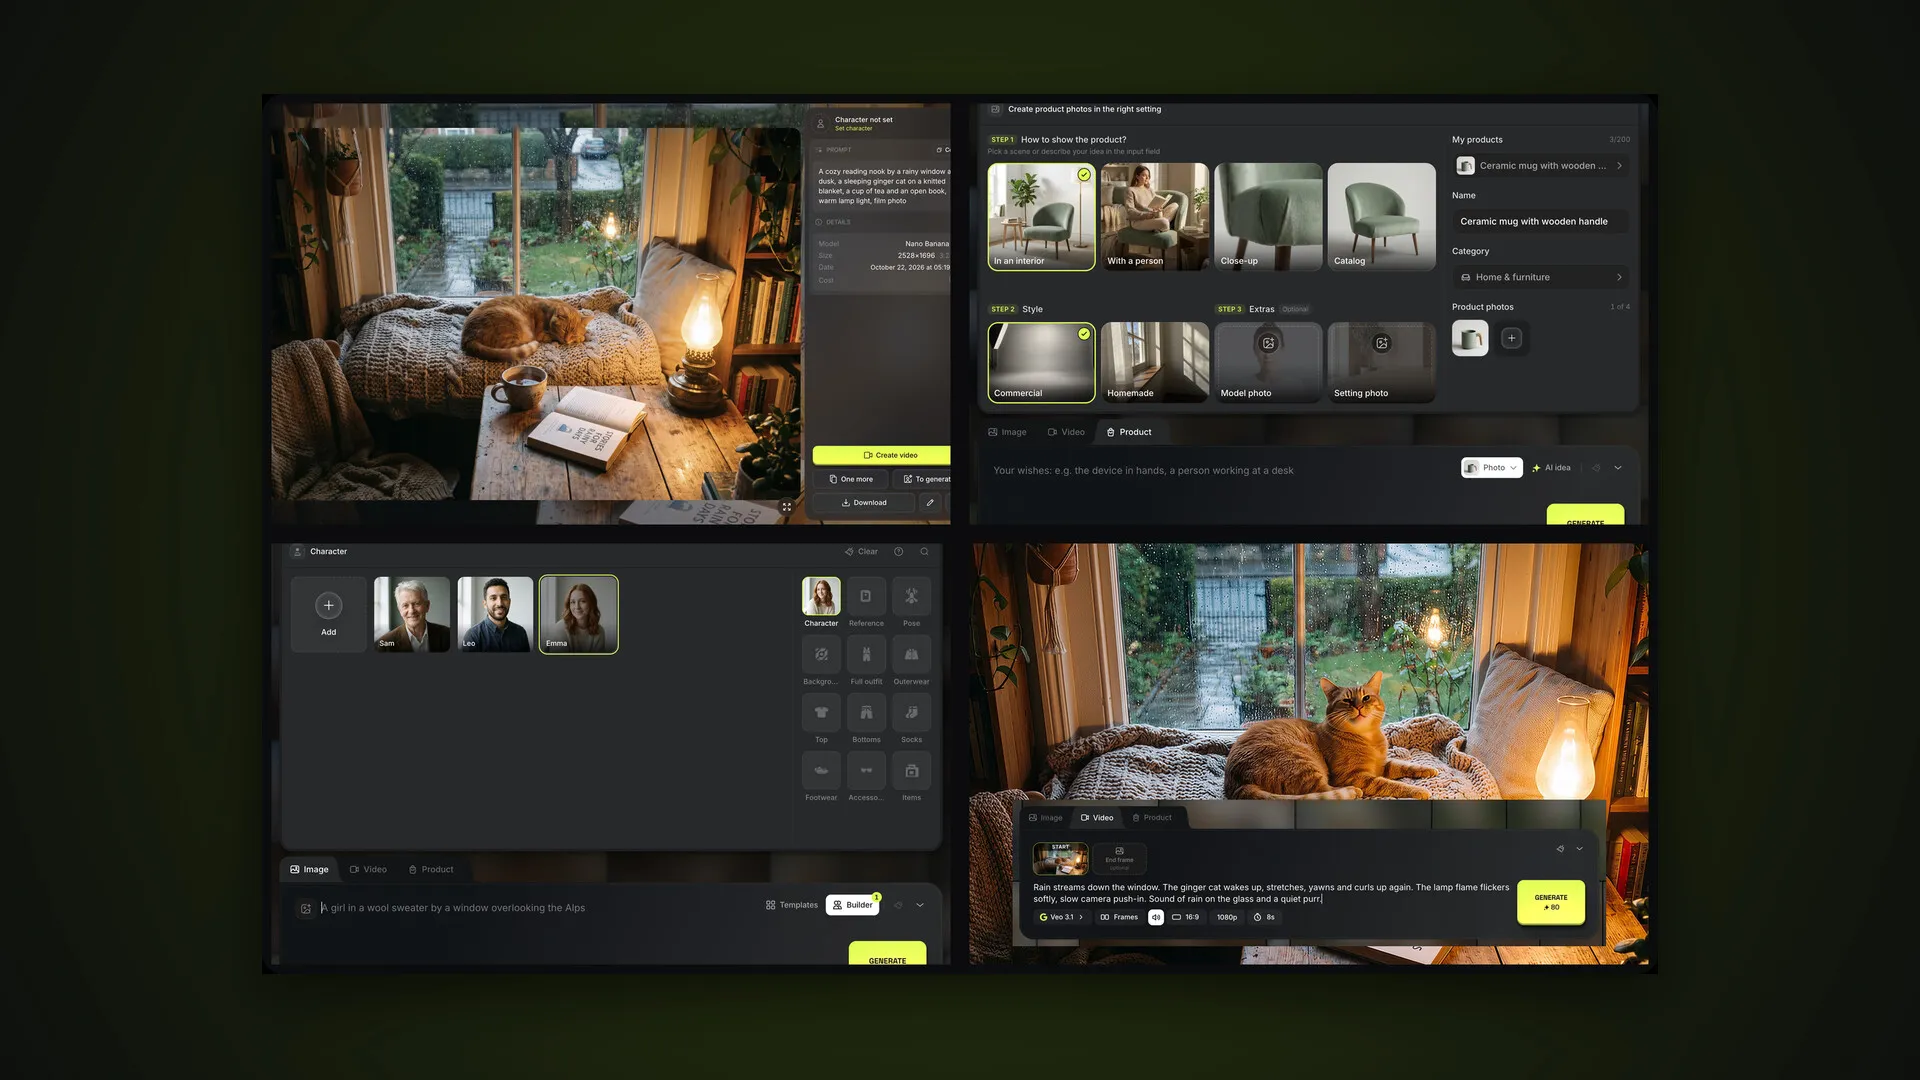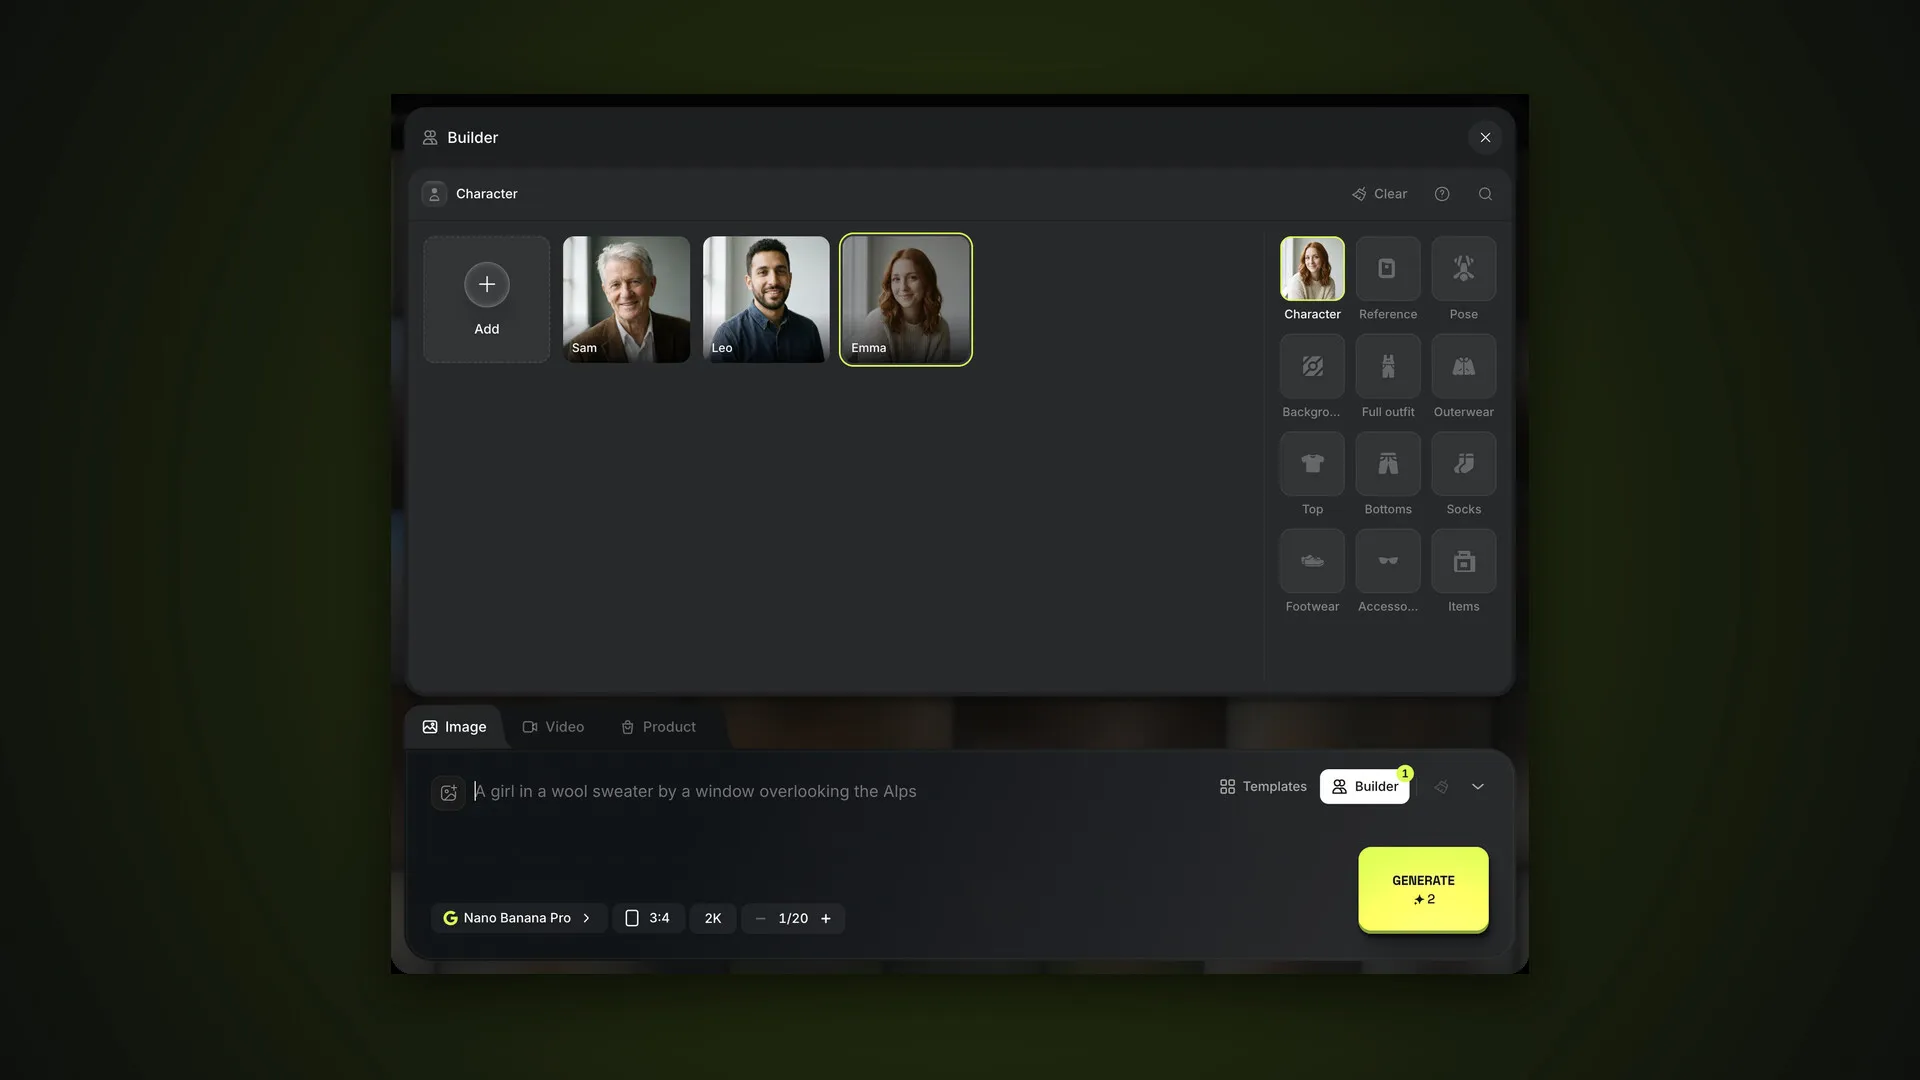





A character solves the core problem of AI photoshoots: keeping the same face across different shots. Without one you’d have to attach photos every time and hope the model works out who’s who. This is part 4 of the AI2Face user guide. For the screenshots we used fictional characters Sam, Leo and Emma, whose portraits were generated in AI2Face.
Where AI2Face characters live
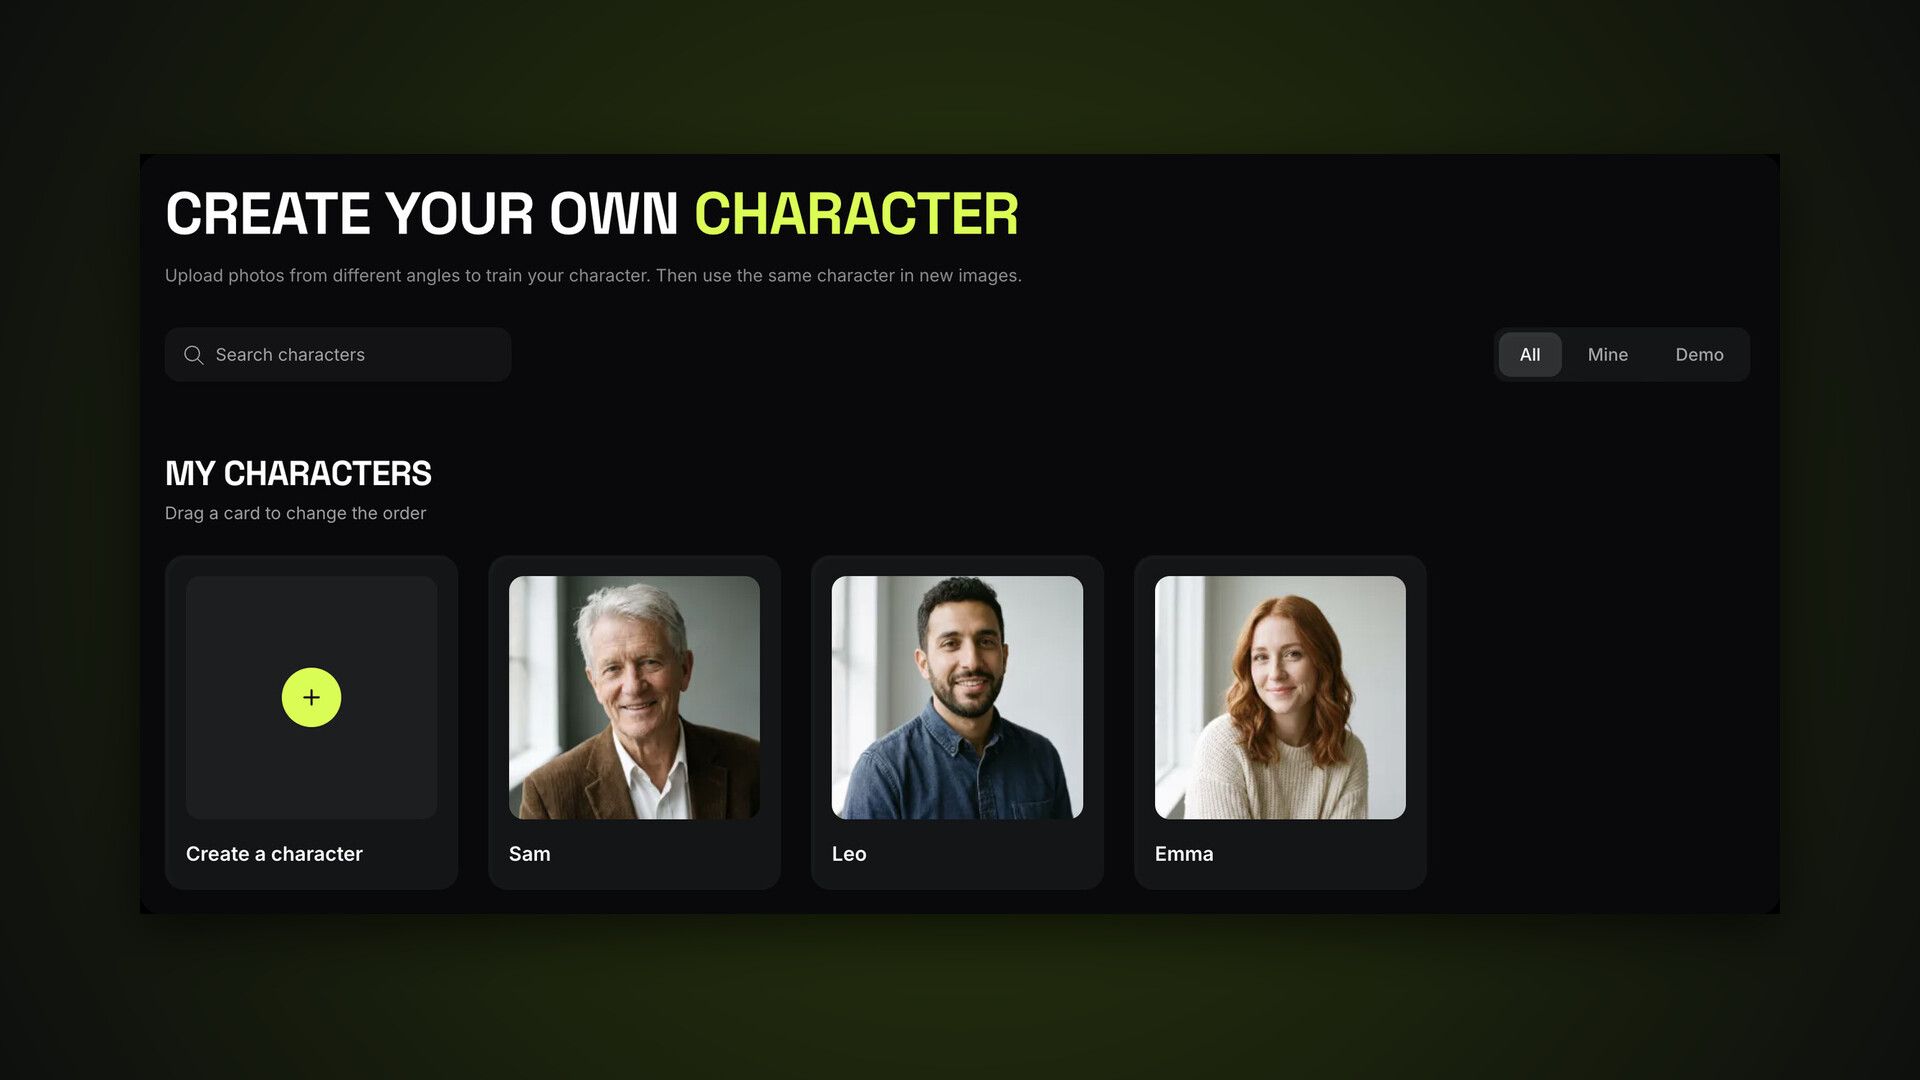
Characters is the first item in the top menu. On the page you’ll find:
- search by name and the All, Mine and Demo tabs;
- My characters — the Create a character tile first, then your characters;
- Demo characters — ready-made examples for trying generation without your own photos.
You can drag cards to reorder them — characters appear in the same order in the Builder and the “+” panel. Hovering over a card reveals two buttons: the sparkle opens the generator with that character, and “⋯” opens a menu with Generate, Configure and Delete.
How to create a character
Click Create a character and enter a name. The name becomes the tag in your prompt: a character named Mia is @Mia. Names in any script work.
After you click Create, the character page opens. Click Add photo or drag images onto the tile. You can upload up to 4 photos, each up to 10 MB. While the files upload and process, the tiles show progress — keep the page open.
If you’ve reached your plan’s character limit, the Create a character tile shows a lock and AI2Face suggests upgrading.
Which photos to upload for a good likeness
Your source photos drive the likeness: the cleaner they are, the more accurate the character. The character page shows a cheat sheet with examples.
Good photos:
- a front-on face, close up;
- a three-quarter view showing the jawline and ears;
- full-length, for body proportions;
- daylight and a sharp image.
Bad photos:
- group shots — the model can’t tell which person you mean;
- faces covered by glasses, a hat or a hand;
- filters, masks, heavy retouching;
- dark or blurry shots.
With two or more photos, AI2Face combines them into a single character profile. The model sees the person from several angles, and the character counts as one slot in the model’s image limit.
The character page
The page shows the character’s photos and actions:
- Generate with this character — opens the generator with the character already selected in the Builder;
- Photos with this character — the feed filtered to this character;
- pencil — rename and add a private note;
- bin — delete the character.
Click a photo to view it large; the “⋯” menu on a photo lets you download or delete it.
How to generate with a character
Characters work in the generator in three ways.
The Builder. Click Builder above the prompt field → the Character layer → a character tile. The Builder character is the core of the shot, and you can add a background, pose, clothing and reference in the neighboring layers. Details in the part on the Builder.
The “+” panel → Characters. This is how you attach several people to a prompt at once: click a tile to add a character, click again to remove it.
@Name tags in the prompt. Type “@” and a list of attached characters and photos opens. A tag tells the model who’s who: “@Sam teaches @Emma and @Leo to make pasta”.
How tags work, how many people fit in one shot and how to add your own background via @1 is covered in a separate guide to multiple characters in one shot. The same characters also work in video — in References mode on the Video tab.
For photos of people, Nano Banana Pro is the best fit: Google says it keeps up to five people recognizable in one image.
Filtering the feed by character
Every shot with a character is linked to them. In the generator feed, the Characters filter shows one person’s shots, and in the viewer you can link a shot manually with Set character at the top of the window. If a shot has several characters, the filter finds it by the first one. The No character option in the same filter shows shots with no character set.
Bottom line
Create a character for everyone you’ll photograph more than once: a name and 2–4 clean daylight photos. Then pick them in the Builder for single shots, and for group scenes attach them via “+” and name them with @Name tags. Don’t delete a character without backing up their shots — they’re deleted along with it. Next in the guide: the Builder.
FAQ
How many photos does a character need?
One to four. 2–4 is best: a front-on face, a three-quarter view and a full-length shot in daylight. Each file can be up to 10 MB.
How many characters can I create?
It depends on your plan: the limit is shown on the Characters page and in Subscription. The Pro plan allows up to 50.
Can I try it without my own photos?
Yes. The Demo tab has ready-made demo characters you can generate with, no uploads needed.
What happens to my images if I delete a character?
All images made with that character are deleted along with it. If you need them, download them first.
How do I put two people in one shot?
Create a character for each person, attach them via “+” → Characters and name them in the prompt with tags: “@Sam teaches @Emma”.
Sources
1
- https://blog.google/innovation-and-ai/products/nano-banana-pro/