






Everything you upload and create in AI2Face is stored in Assets. The generator pulls photos for “+” and layers for the Builder from here, and you use it to organize shots by project and download them in bulk. This is part 6 of the AI2Face user guide.
AI2Face assets sections
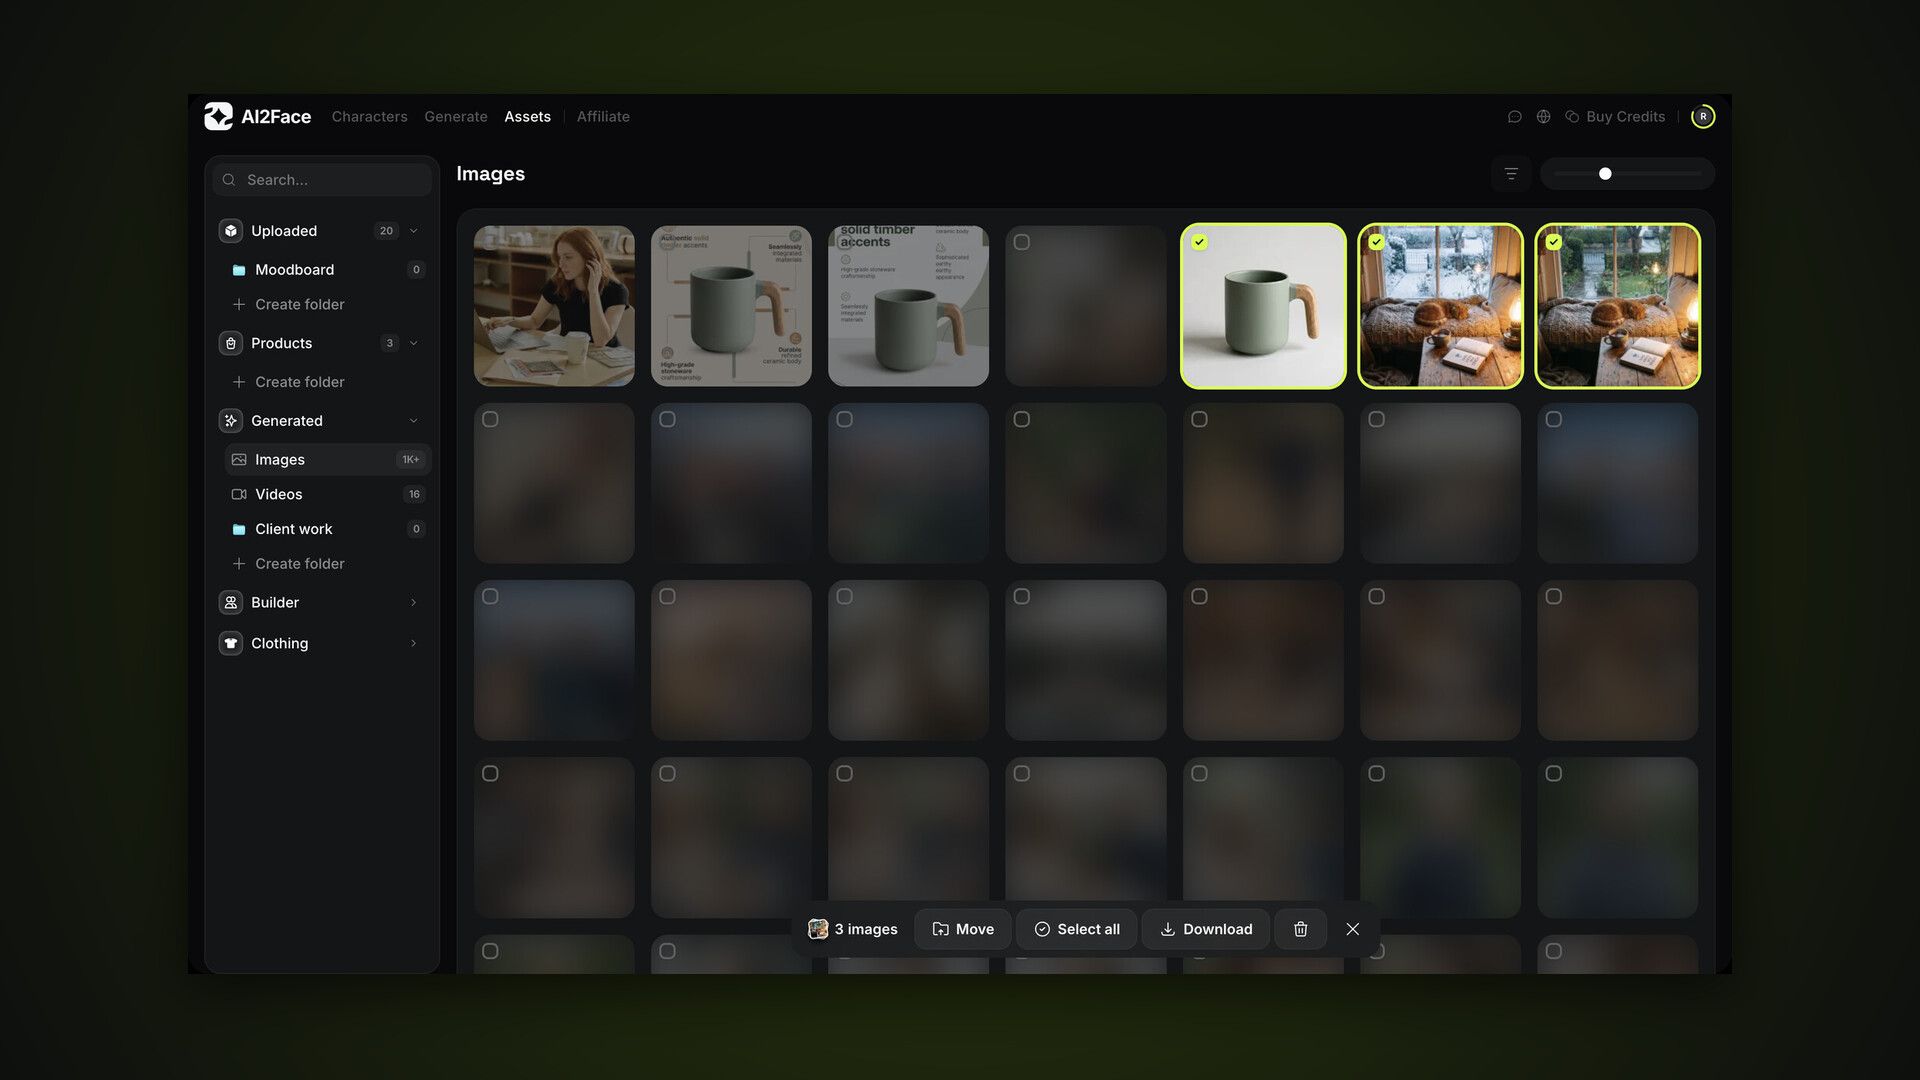
Open Assets in the top menu. On the left is a sidebar with search and sections, each with a counter:
| Section | What’s inside | Where it’s used |
|---|---|---|
| Uploaded | your photos | “+” → Uploaded |
| Products | the Product tab library | the generator’s Product tab |
| Generated → Images and Videos | everything you’ve created | “+” → Generated, the feed |
| Builder → References, Poses, Backgrounds | samples and your uploads | Builder layers |
| Clothing → 8 categories | outfits, tops, bottoms, footwear, accessories, items | Builder clothing layers |
On a phone, sections switch via pills at the top, and folders via chips below them.
How to upload your own photos, poses and backgrounds
The first tile in each section is Add: pick files or drag them into the grid. Uploading in Poses or Backgrounds saves the file as a pose or background right away, and it appears in the matching Builder layer. For poses and clothing, the gender filter sets the gender of the new upload.
Uploading your own files is available on paid plans. The limit is shared by references, photos, backgrounds, clothing and poses — when you hit it, AI2Face shows a counter and suggests upgrading.
Folders: how to organize shots by project
Three sections support folders: Uploaded, Products and Generated. In Generated, folders are shared between images and videos. You can create up to 200 folders in total.
- Create — Create folder under a section in the sidebar.
- Move in — drag a tile onto a folder in the sidebar, or choose Move to folder in the tile menu. Several selected tiles move at once.
- Move out — drag a tile onto the section name.
- Rename — click the open folder’s name above the grid.
- Delete — from the folder menu; the contents go back to their section.
Folders for Generated are available in the generator feed too: “⋯” on a tile → Move to folder.
Products in assets
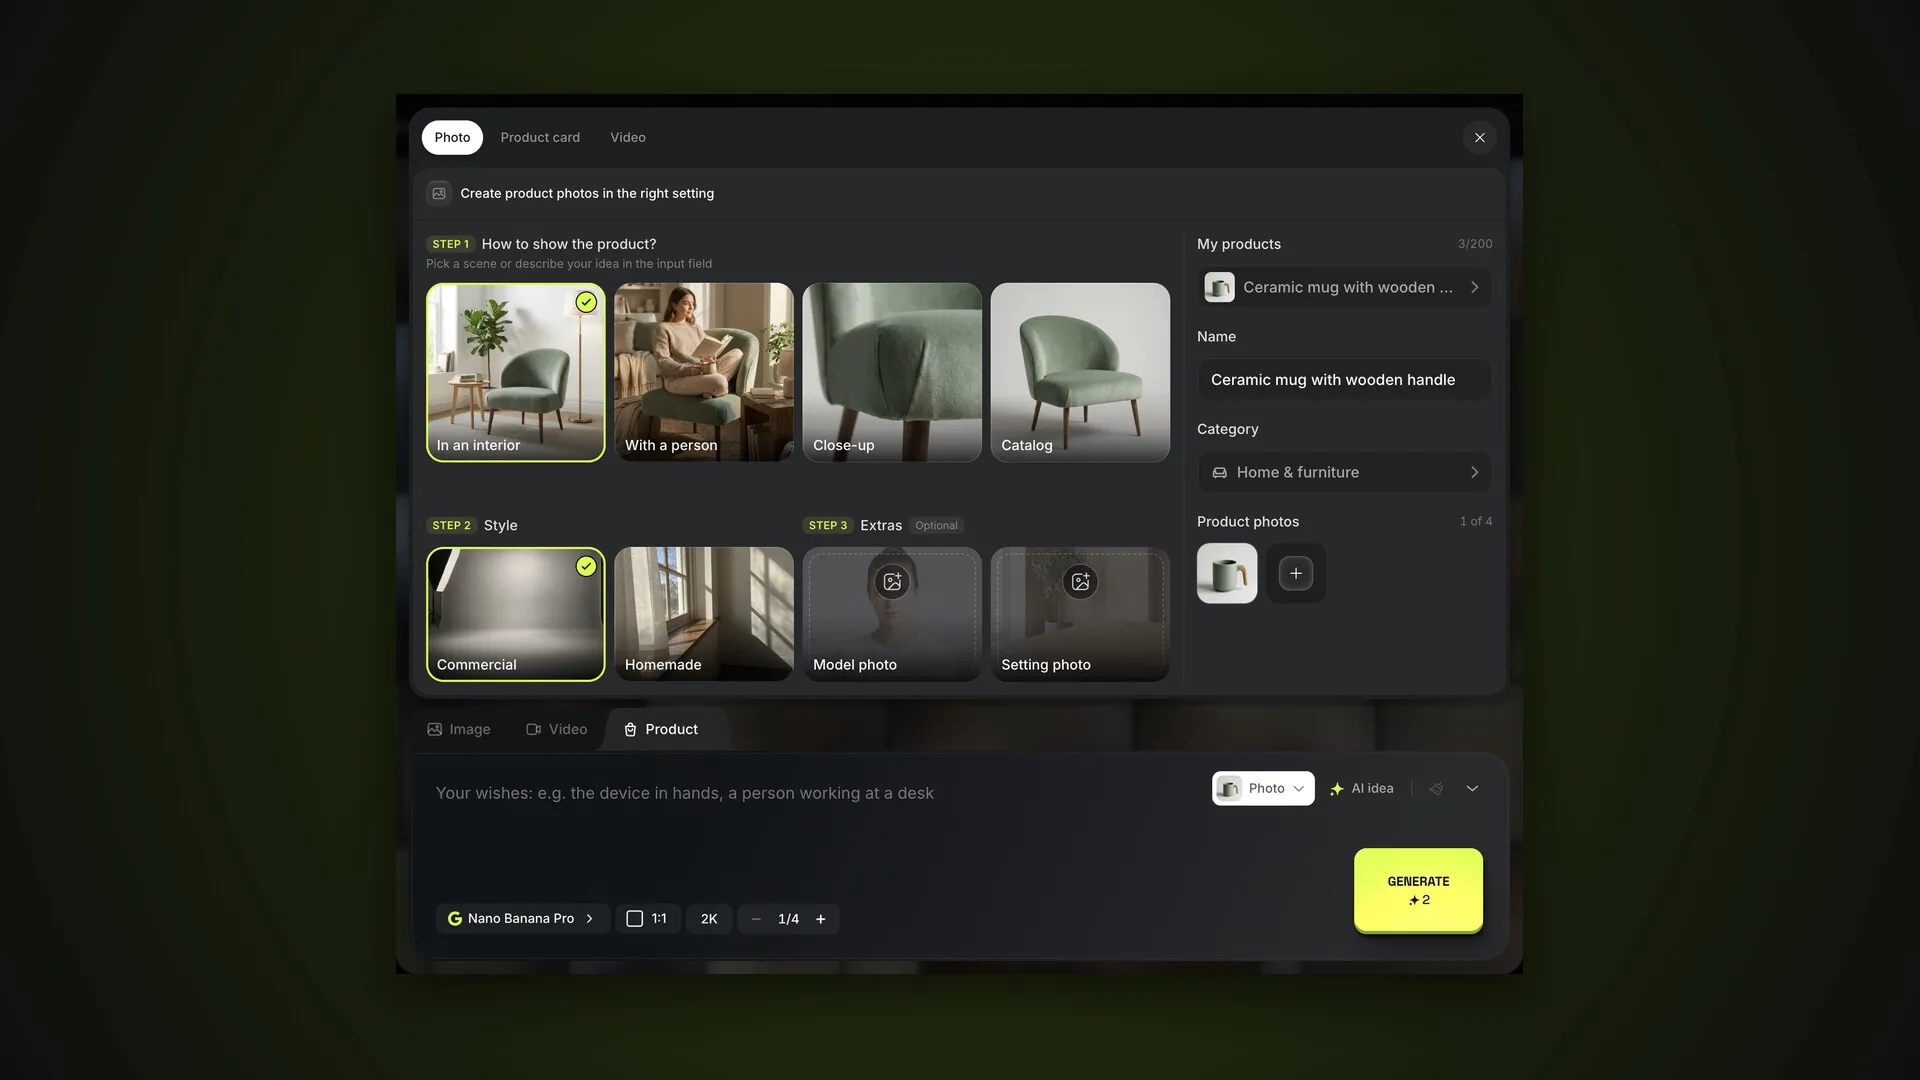
Products is the same library as the generator’s Product tab. The New product tile creates a product from photos, and clicking a card opens the product window: photos, name, category, plus Recognize from photos and Create visuals — the latter opens the generator with that product.
How to make product photos, cards and videos is covered in the part on the Product tab.
Filters, search and tile size
Above the grid are the filter and a tile-size slider. The filter adapts to the section:
- Gender — for poses and clothing;
- Type — photos or videos in Generated folders;
- Category — for products;
- Period — everywhere: today, 7 or 30 days, or a custom range.
Active filters appear as chips next to the heading; the cross on a chip removes it. The sidebar search finds assets and products by name.
Selecting, downloading and deleting
Tiles are selected just like in the generator feed: ⌘+click (Ctrl+click on Windows) adds a tile, Shift+click selects a range. An action bar opens at the bottom: Move, Select all, Download and delete. Esc clears the selection.
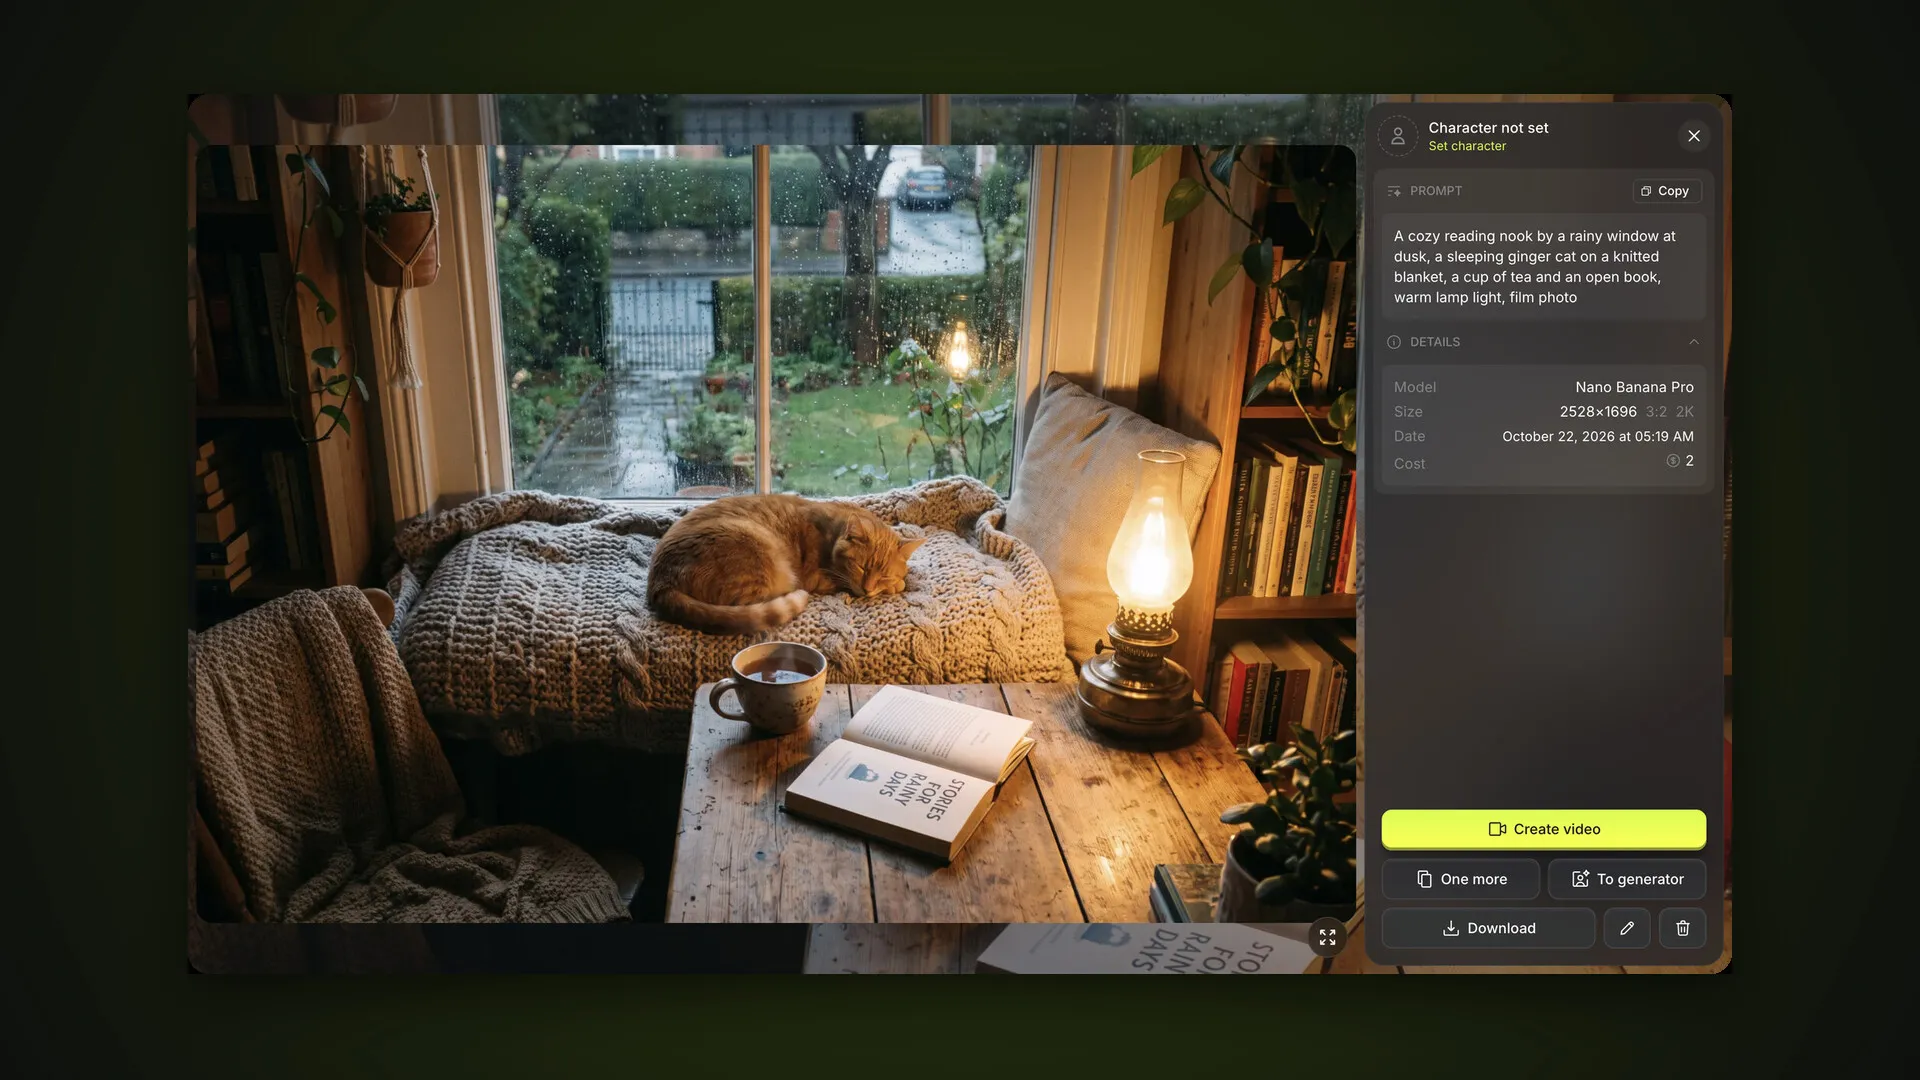
Right-clicking a tile opens its menu: select, move to folder, create an image, video or product from the shot, download, edit the name and category, delete. A plain click opens the viewer, where the arrow keys browse neighboring tiles.
Bottom line
Use Assets as your project workspace: upload poses, backgrounds and clothing here so they’re at hand in the Builder, and sort your generations into folders by client or campaign. To pick and export shots, select them with ⌘ or Shift and download them as an archive. Deleting a folder erases nothing — the shots go back to their section. Next in the guide: plans and credits.
FAQ
Where can I find all my generated images?
In the generator they're in the feed, and in Assets they're under Generated → Images or Videos, where it's easy to sort them into folders.
How many folders can I create?
Up to 200 folders per account. Uploaded, Products and Generated all support folders.
Are my photos deleted if I delete a folder?
No. Its contents go back to their section: photos to Uploaded, products to Products, generations to Generated.
Can I download many images at once?
Yes. Select tiles with ⌘+click or Ctrl+click and click Download — multiple files arrive as a single archive.
How many of my own images can I upload?
The limit depends on your plan and is shared by references, photos, backgrounds, clothing and poses. Uploading your own assets isn't available on the free plan.