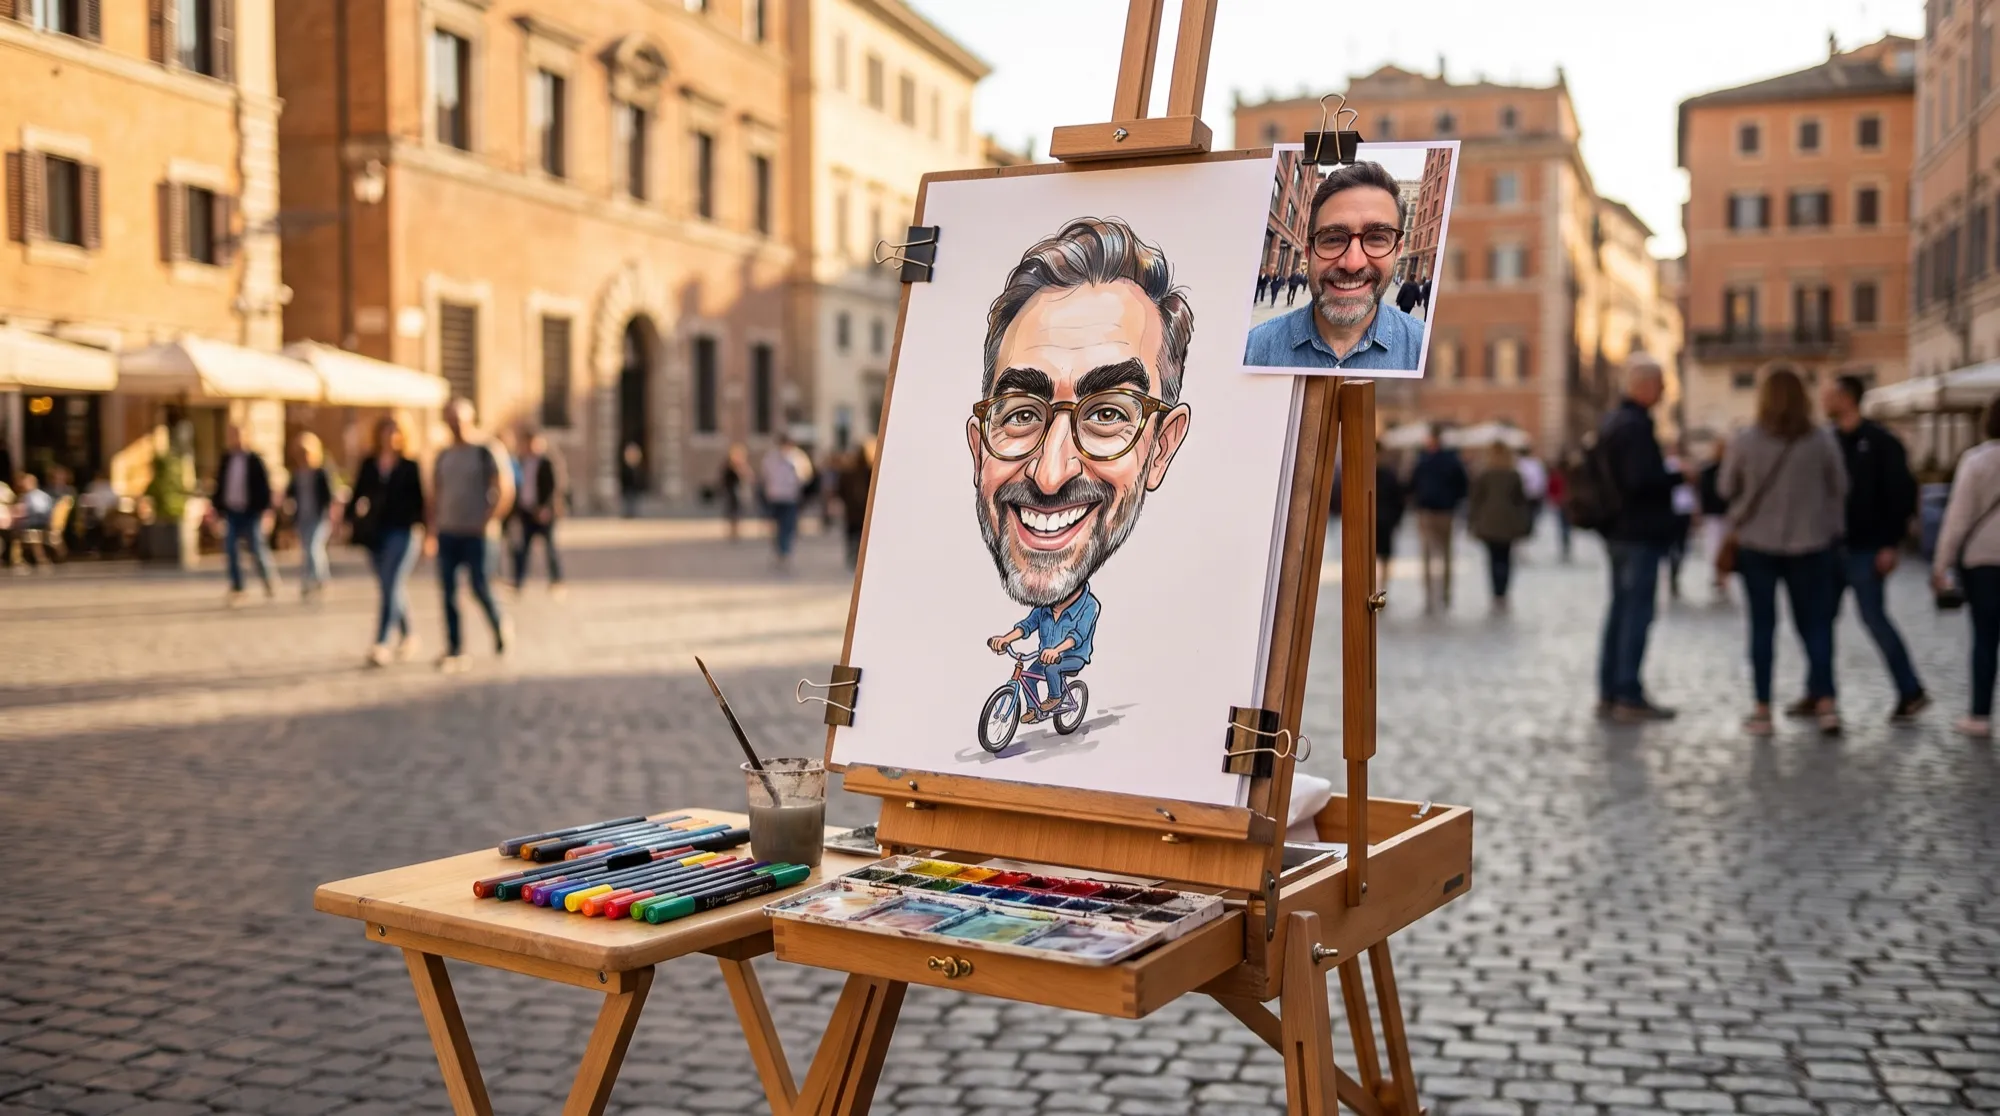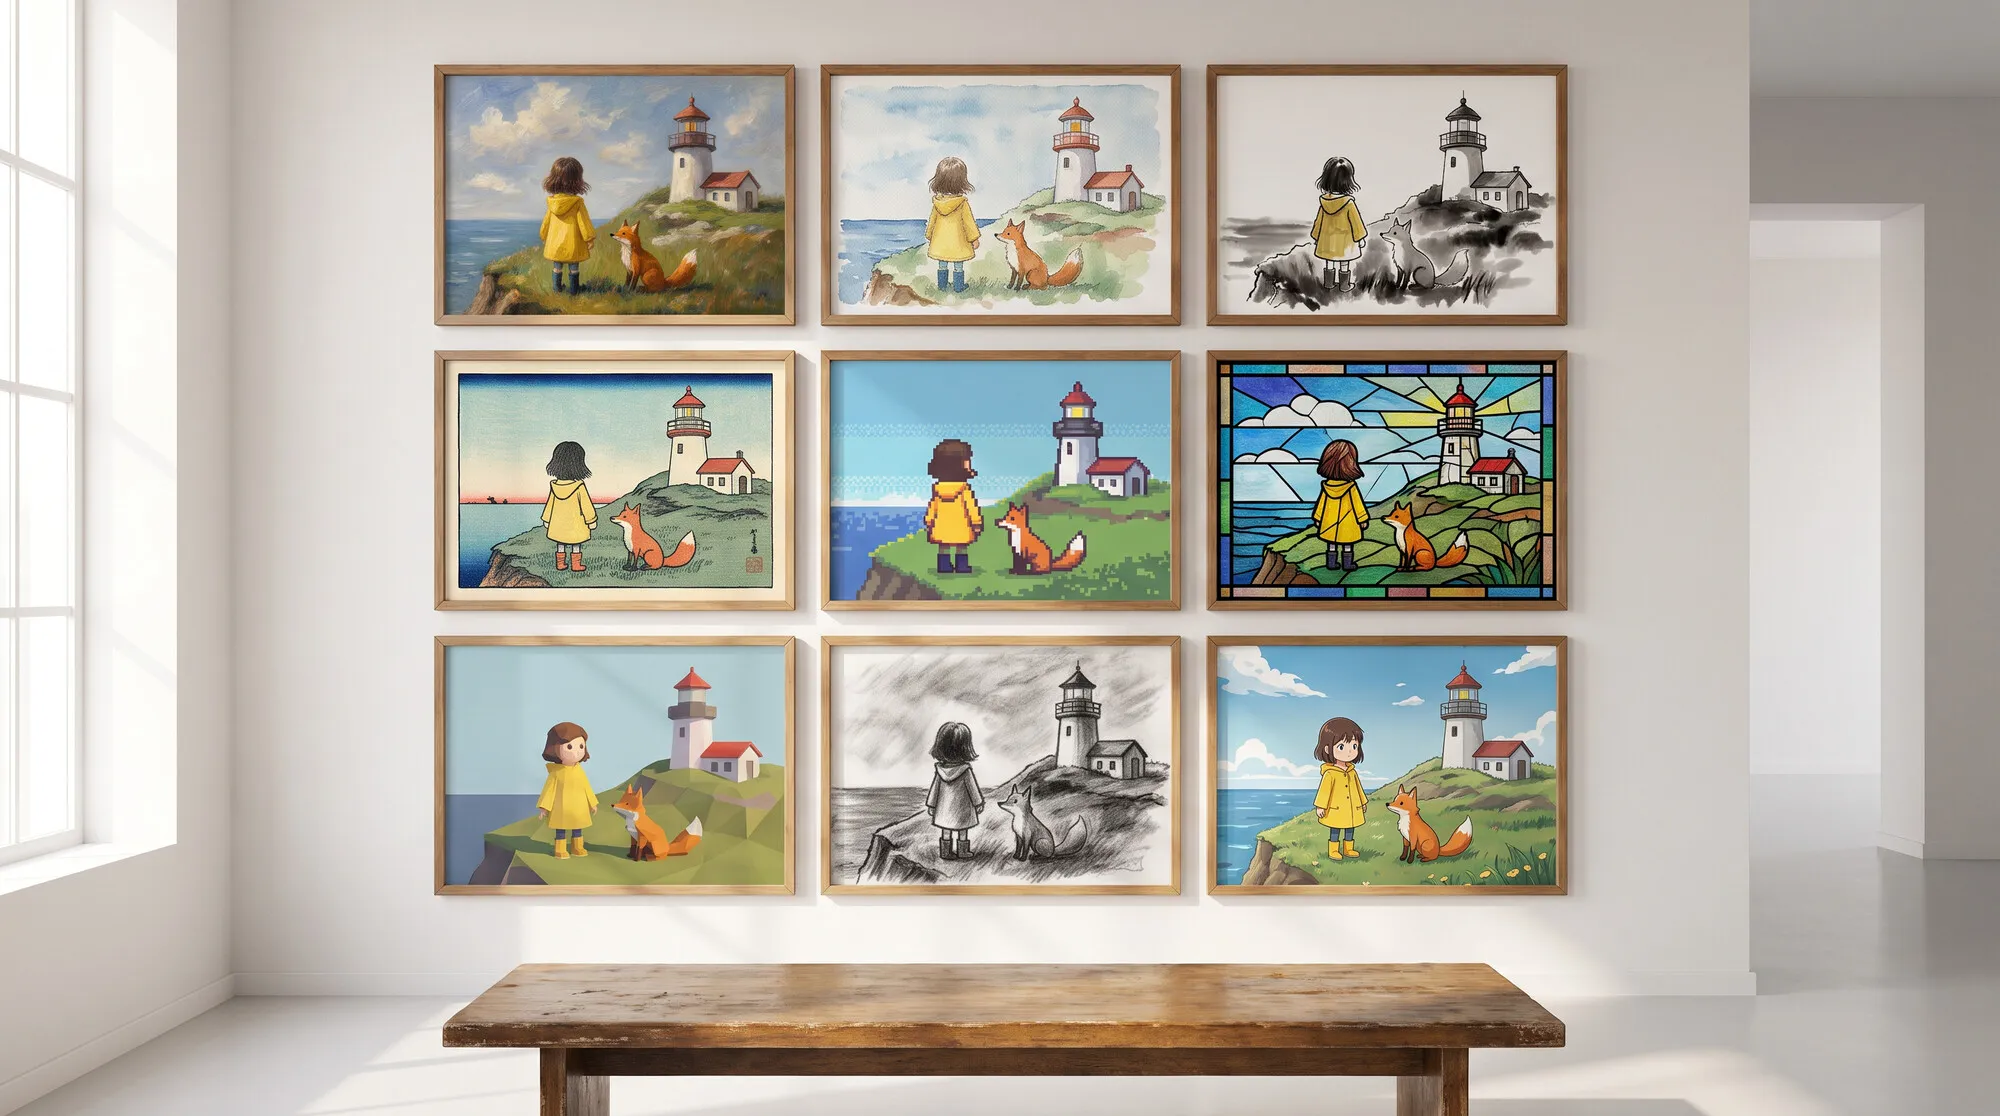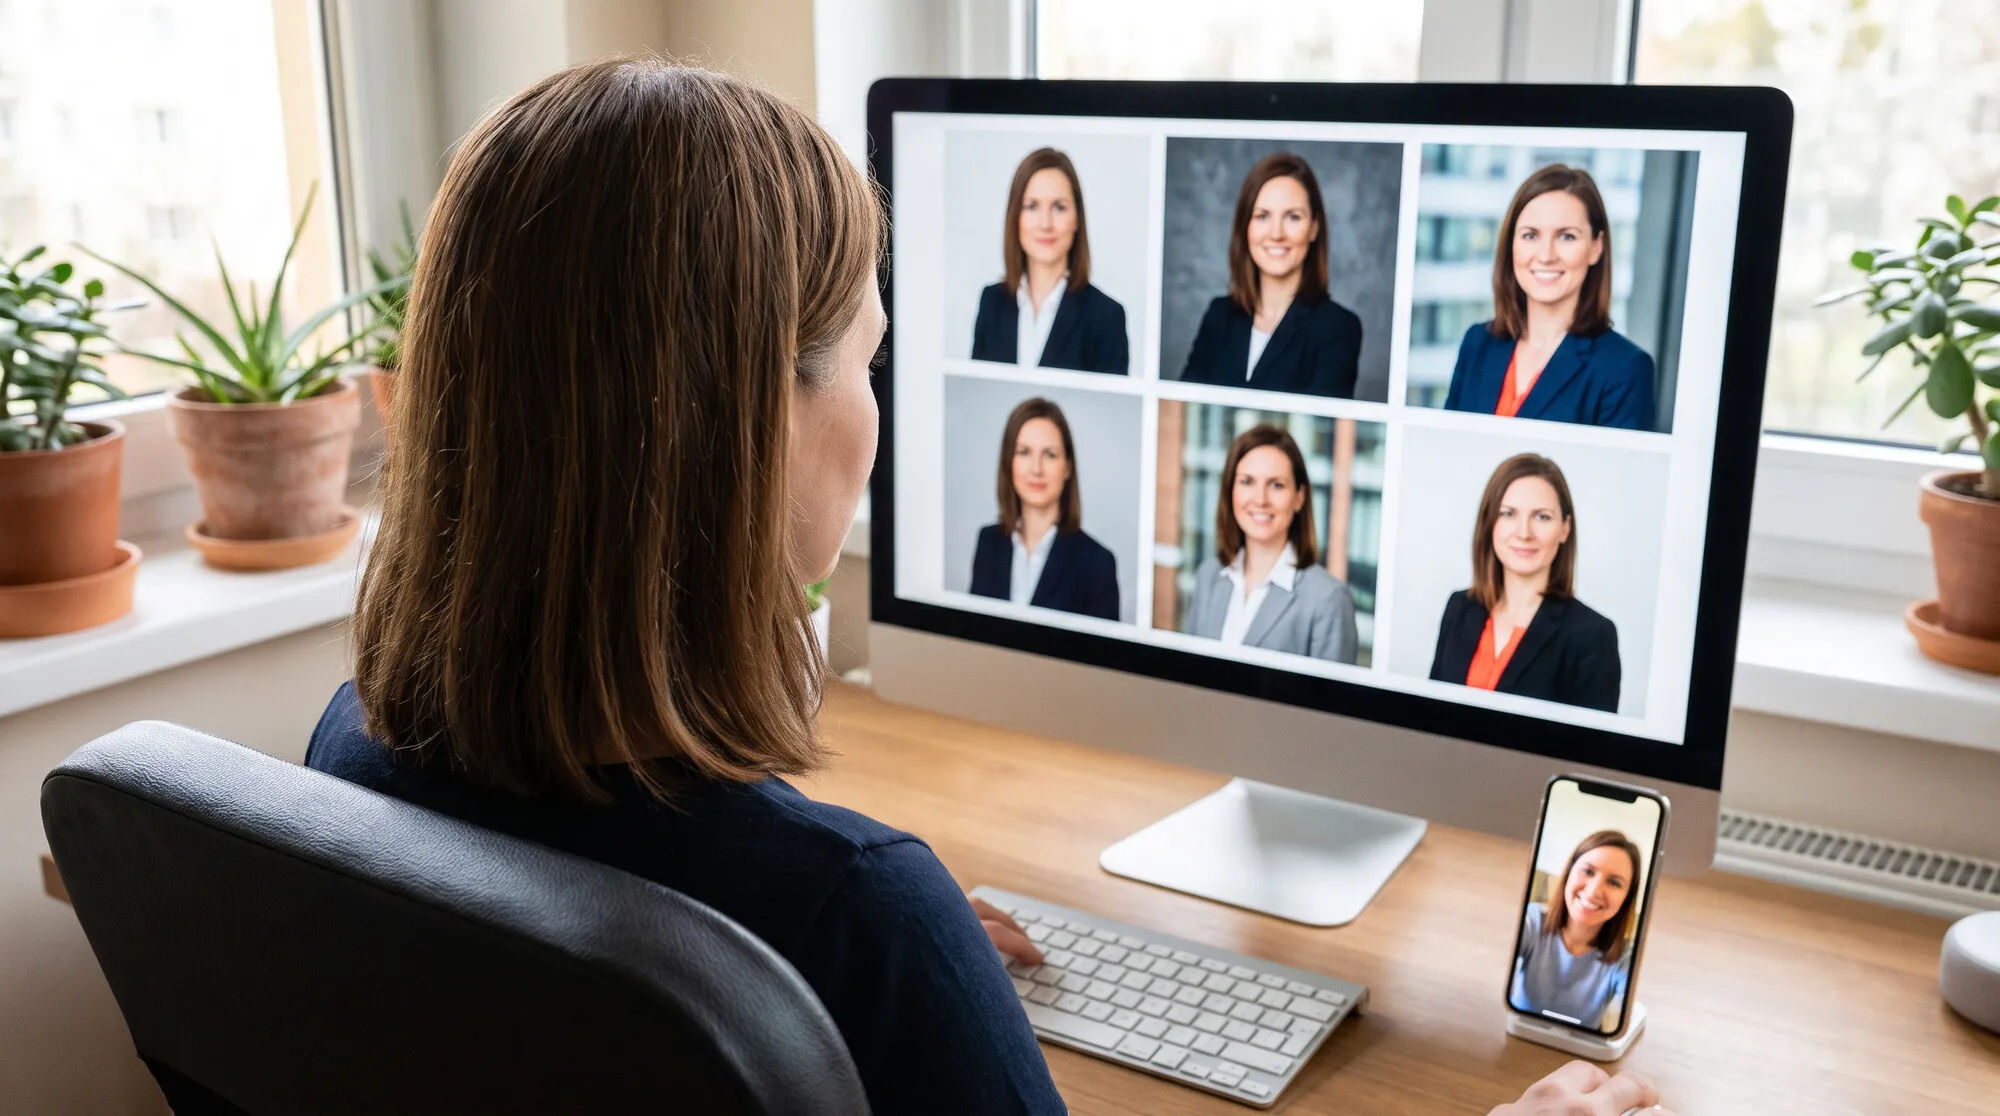
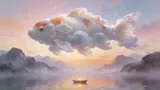
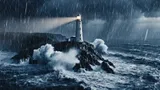
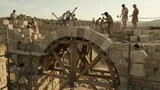
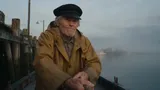
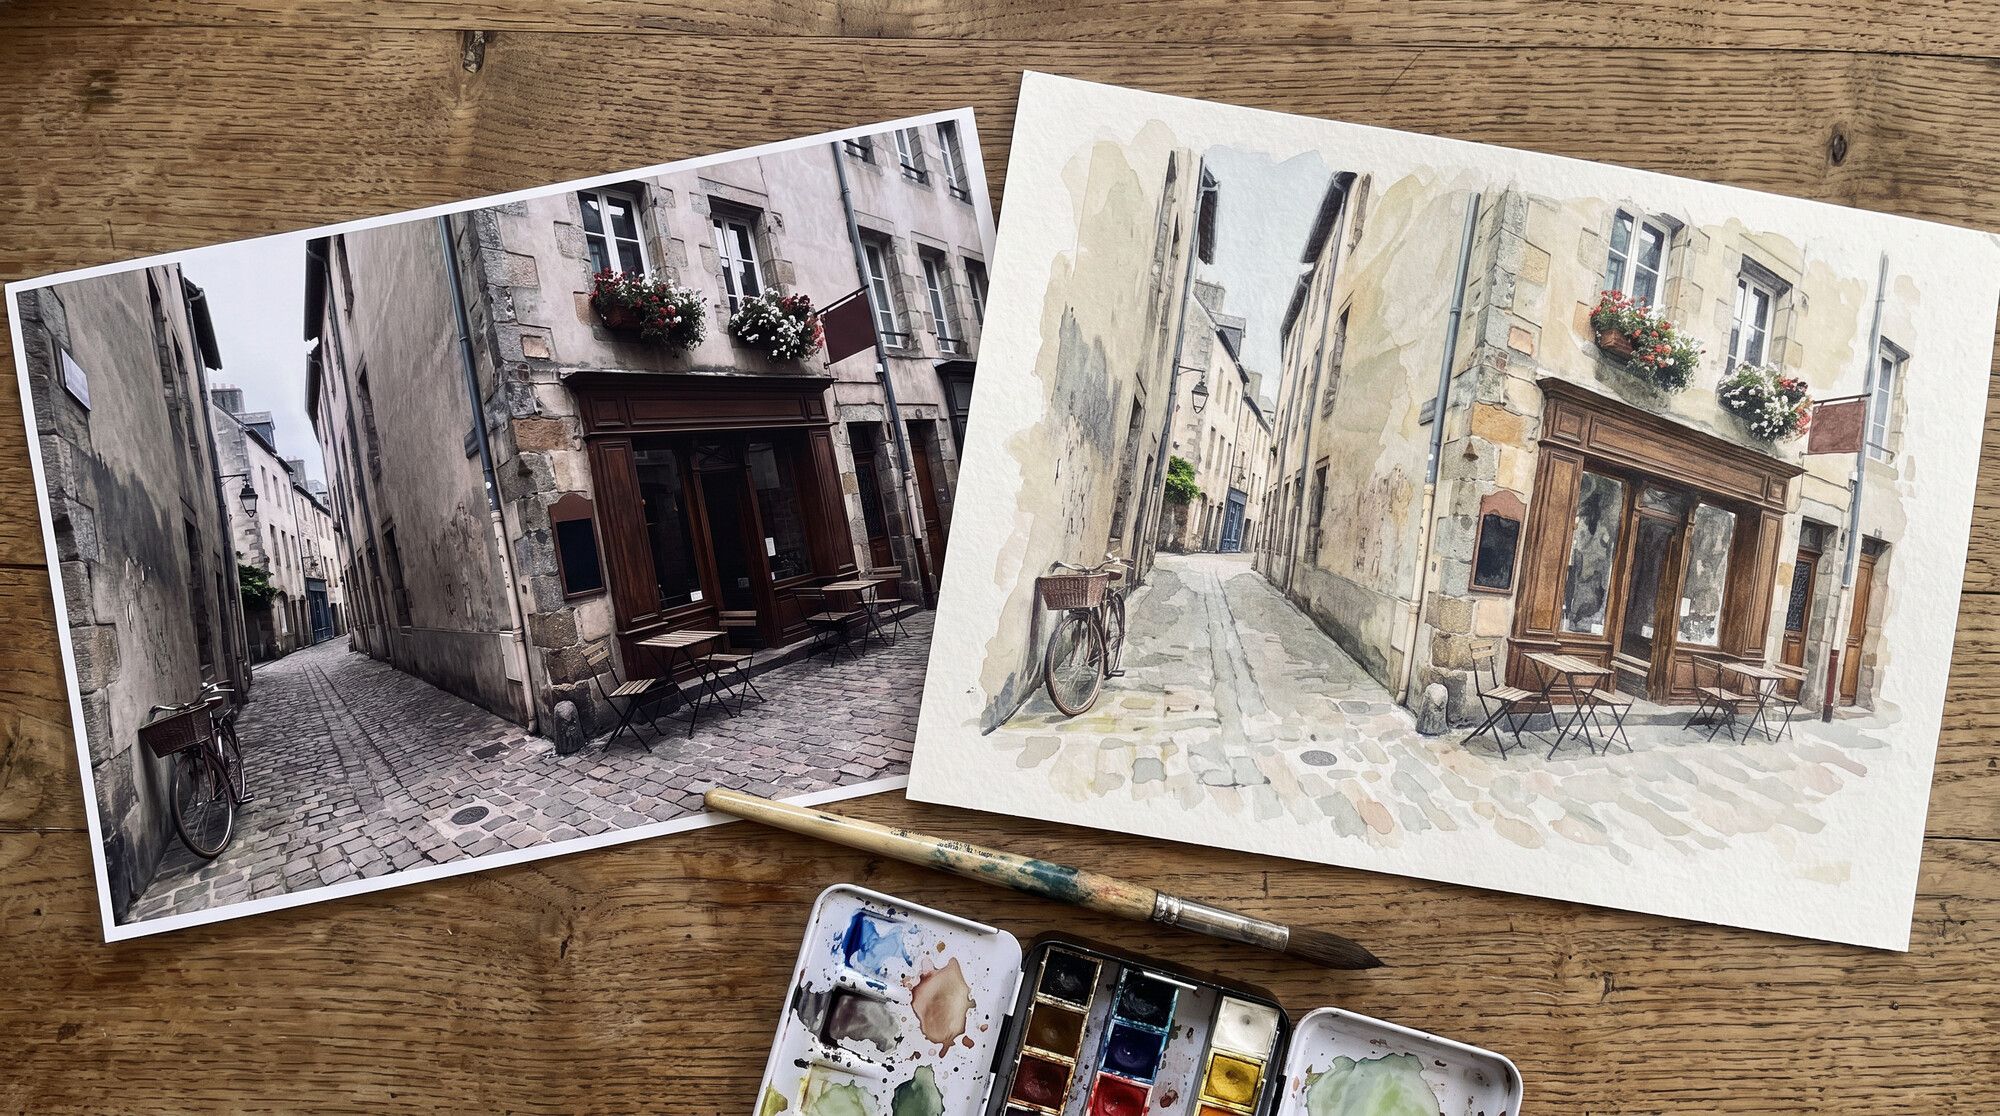
Image to image (img2img) means the model gets an image as well as text: your photo, a sketch, a shot of a room or a product. It takes from the image what’s hard to put into words — composition, shapes, a pose, a face — and the prompt says what to change. We tested six methods on our own source images. Every result was made in the AI2Face generator with Nano Banana Pro.
What image to image AI is and how it differs from text to image
With text to image, the model builds the scene from scratch and decides where the table goes and where the person looks. With image to image, the base already exists and the model changes only what you ask for. The main benefit is predictability: if you need the same street in winter, you get that street, not a different one.
| Task | From text | From a photo |
|---|---|---|
| A new scene from your imagination | yes | — |
| The same scene in different light or style | no, the composition changes | yes |
| An object that matches a sketch | roughly | yes |
| A specific face or product | no | yes |
| A shot combined from several photos | no | yes |
For an overview of image models in general, see our AI image generator guide. This one is only about working from photos.
How to use image to image AI in three steps
- Upload the photo. In AI2Face, use the “+” button to the left of the prompt box or drag the file in. An image from your feed attaches with the “To generator” button.
- Choose an editing model. Nano Banana Pro works well: it understands plain language and accepts up to 14 images at once.
- Write the prompt in two parts: what to change and what to keep. The second part matters more.
With several photos, refer to them by number: @1, @2, @3. That tells the model where to take the face from and where to take the jacket from.
1. How much to change: light, season or a new style
In classic models like Stable Diffusion, a strength slider controls how much changes: near zero the image barely changes, and at 1.0 the source is essentially ignored. Nano Banana Pro and other text-driven editing models have no slider — words set the strength. We made three levels from one street photo.
Light change — light only:
Edit this photo: change only the light to a warm golden-hour evening,
the cafe windows glowing from inside, soft long shadows on the
cobblestones. Keep the composition, the camera angle, the buildings,
the tables, the flower boxes and the bicycle exactly as they are.
Medium change — a new season:
Edit this photo: turn the season into winter — fresh snow on the
cobblestones, on the bistro tables and chairs and on the window boxes,
light snowfall, cold blue daylight. Keep the composition, the camera
angle, the buildings and every object in its place.
Strong change — a new style:
Reimagine this photo as a cozy watercolor illustration from a
children's picture book: loose washes, visible paper texture, warm
pastel palette, a ginger cat sitting on one of the cafe chairs. Keep
the same composition: the street going into the distance, the cafe on
the right, the bicycle on the left.
All three times the model kept what we listed: the street, the café on the right, the bicycle on the left, the tables. The rule is simple: the less you want to change, the longer your “keep” list. For more style ideas, see AI photo style transfer; turning a photo into a drawing — pencil, ink, sketch — is its own task.
2. From a sketch to a photo
A sketch is the most precise way to explain a shape. “A mid-century armchair with curved armrests” isn’t enough for the model, but a pencil sketch sets the proportions, curves and angle. We sketched an armchair by hand and asked for a product photo.
Turn this pencil sketch into a photorealistic product photo of the
armchair: follow the exact shape, proportions, curved armrests and
tapered legs of the sketch; solid walnut frame with an oiled finish,
thick olive-green boucle cushions; the chair stands in a bright
minimalist living room on a light rug, soft window light from the
left, three-quarter view as in the sketch. No arrows, no lines, no text.
“No arrows, no lines” is a must — otherwise the model may carry the sketch’s markings into the photo. Spell out materials and color: the pencil sketch has none. The same approach works for logo, packaging and interior sketches; for logos there’s a separate AI logo generator guide.
3. Borrow a pose from a photo
A photo can supply just the pose, without the person’s face or clothes. That helps when a pose is hard to describe: a leap, a dance move, an unusual angle. Tell the model directly: “use this photo only as a pose reference.”
Use this photo only as a pose reference: a medieval knight in full
polished plate armor and a red cloak in exactly the same mid-leap
pose — one leg extended forward, the other bent back, arms spread
wide — leaping over a stone wall on a misty battlefield at dawn,
cinematic lighting. Do not copy the person's face or clothes.
Describe the pose in words too, even though it’s in the photo: “one leg forward, arms spread wide.” Words and the photo together are more precise than either alone.
4. Empty room → finished interior
A photo of a room keeps what can’t be moved: windows, doors, radiators, flooring. The model places furniture around them. It’s a go-to for real estate agents, designers and anyone choosing furniture before they buy.
Furnish this empty room in a calm japandi style: a low light-grey
linen sofa facing the window, a round oak coffee table, a wool rug,
a paper floor lamp, a tall plant in a ceramic pot, a low sideboard with
ceramics along the back wall. Keep the walls, the window, the radiator,
the door, the oak floor, the light and the camera angle exactly as in
the photo.
List the furniture piece by piece: “sofa, coffee table, rug, floor lamp.” A vague “furnish it nicely” gives you a random set. For styles, layouts and wall colors, see AI interior design.
5. Several photos in one shot
The strongest feature of current models is combining several images: a person from one photo, clothing from a second, a location from a third. According to Google’s documentation, Nano Banana Pro accepts up to 14 images, keeps the likeness of up to 5 people and reproduces up to 6 objects with high fidelity.
The man from @1 wearing the mustard corduroy jacket from @2 over his
white t-shirt, standing on the rooftop terrace from @3 at sunset,
leaning on the railing, relaxed smile, string lights and the skyline
behind him, waist-up shot, 50mm lens. Keep his face exactly as in @1
and the jacket exactly as in @2: color, corduroy texture, brown buttons
and chest pockets.
Say what to take from each photo and repeat the key details: color, texture, buttons. This is how an AI virtual try-on works and how you combine two photos into one; for one person across many shots, it’s easier to save them as a character in AI2Face.
6. Portraits and photoshoots from a photo
A big use case of its own is your face in a new setting: a photoshoot, a profile picture, a professional headshot. The principle is the same: the photo is the base, the prompt is the scene, and a face lock lists the features that must not change. We cover these in separate guides with examples: AI photoshoot, AI profile picture and AI headshot generator.
Limitations of image to image AI
- The model still redraws the image. Even with “change only the light,” small details — signs, tile patterns — can shift slightly. For a pinpoint edit that leaves everything else untouched, use object removal or a background swap.
- Text in the photo can get distorted. If the source has lettering, quote it word for word in the prompt.
- Other people’s faces only with consent. Don’t generate from someone else’s photo without their permission.
- Source quality matters. A blurry photo gives a blurry result; enhance it first.
Bottom line
Image to image AI is the most reliable way to get exactly the scene you have in mind: the photo provides the base, the prompt provides the changes. Start simple — change the light or season on one of your own photos — to get a feel for how the “keep” list controls the strength of the edit. Use sketches for design, an empty-room photo for interiors, and a multi-photo combination for ads and clothing. If you have no base and need a scene from scratch, regular text to image is the way to go — our AI image prompts will help.
FAQ
How do I generate an image from a photo with AI?
Upload the photo, choose an editing model such as Nano Banana Pro and describe what to change and what to keep: “make it winter, keep the buildings and tables in place.” In about half a minute you get a new image built on yours.
Can I use image to image AI for free?
Yes, a few times. AI2Face gives you welcome credits when you sign up, and the cost of each generation is shown before you start.
How many photos can I upload in one request?
It depends on the model. Nano Banana Pro accepts up to 14 images, including up to 6 objects with high fidelity and up to 5 people with consistent likeness.
How do I stop the AI from changing the whole photo?
List what to keep: composition, camera angle, objects, the face. Start the prompt with “change only…”. The more precise the list, the less the model makes up.
How is image to image different from text to image?
Text builds a scene from scratch; a photo gives the model a ready base — composition, shapes, a face or a product. That's why image to image gets you much closer to what you had in mind.
Sources
4
- https://ai.google.dev/gemini-api/docs/image-generation
- https://blog.google/innovation-and-ai/products/nano-banana-pro/
- https://huggingface.co/docs/diffusers/using-diffusers/img2img
- https://arxiv.org/abs/2108.01073